Hi, I'm Mallory from Griffin Handspun. Mary invited me to write about how to make felt balls. I'm sure some of you are wondering what they are and why you'd want to make (or buy) them. Felt balls can be made in many sizes depending on what you want to use them for; I use large one as dryer balls as well as kids' toys and small ones as beads. We try to avoid dryer sheets because of the chemicals they're made with so we made the switch dryer balls which soften clothes and reduce the drying time by about 25% (we've definitely noticed a drop in our electric bill).
All you'll need is:
Now you'll begin wrapping the yarn around 2 fingers in a figure 8.

If you've ever wrapped a skein of yarn into a ball this will be very easy for you. Once you think you have enough of a figure 8, fold it in half to form a ball (not a pretty ball, just ball-ish in shape).

Now start wrapping yarn around, turning as needed, until your ball is 20-30% larger than you want it to be.

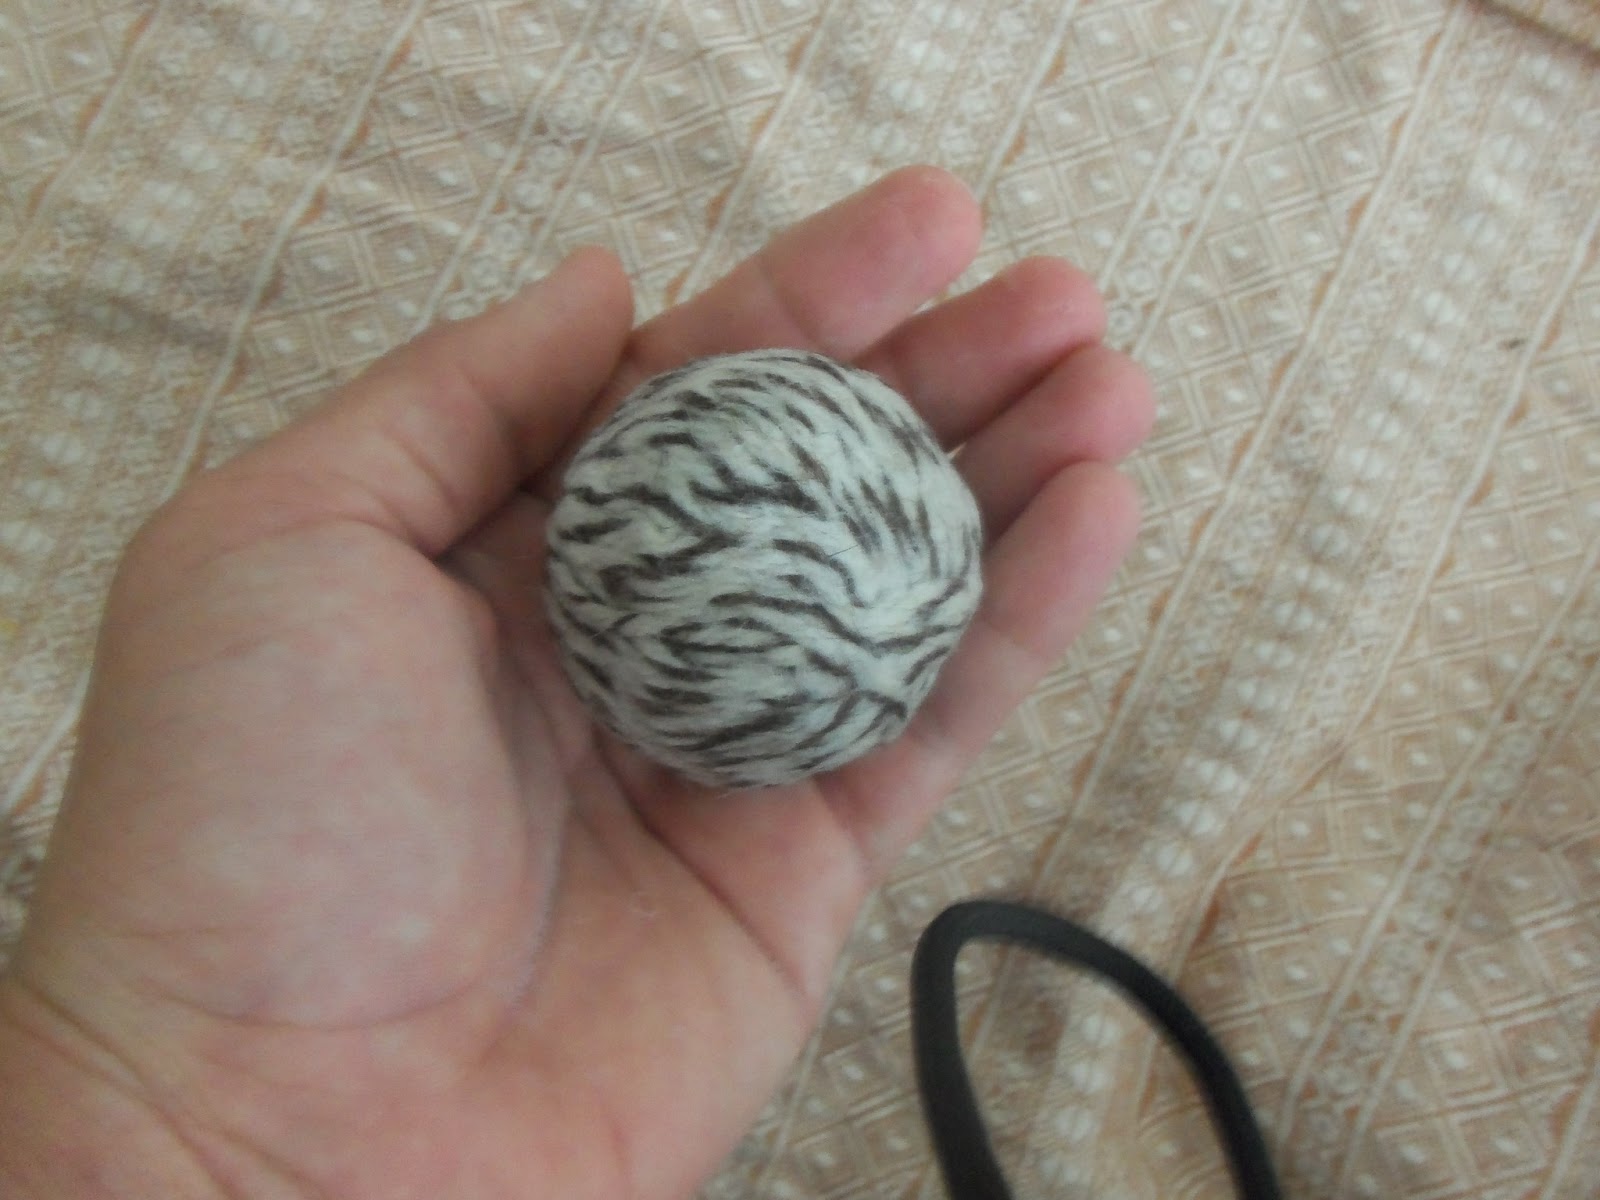
Here comes the time consuming part. Now that you have the ball formed you'll dip it in the soapy water. Next you need to gently move it from one hand to the other. Again, and again, and again. Dip in the water as needed to keep it moistened; water and friction are needed for felting to occur and the soap helps friction to happen. You'll notice the surface of the ball start to change after a couple minutes. The strand of yarn will start to grip the strands around it. Now you can start using more pressure and rubbing it between your palms in a circular motion. When it's done felting it should look and feel like a solid ball. The individual strands will have blended together and condensed.

Here my youngest is wearing a necklace that I made out of small felt balls. He's teething so it's great for him to chew on.

The boys love playing with the large (7-8cm) wool balls. I wonder why we spend money on fancy toys when their favorites are simple things like boxes, sticks, and these wool balls.

This would be great to make with kids. You have to be gentle at first so if they're younger I would suggest starting the felting process for them but once it gets going almost any age could squish, squeeze, and roll the ball around in their hands. If you have any questions or would like to post pictures of your finished felt balls please visit me at my Facebook page.
All you'll need is:
- A bowl of water
- Dish soap - I prefer Dawn
- 100% wool yarn - this can NOT be superwash yarn because it needs to be able to felt
- A towel - this is only used for catching any drips
Now you'll begin wrapping the yarn around 2 fingers in a figure 8.

If you've ever wrapped a skein of yarn into a ball this will be very easy for you. Once you think you have enough of a figure 8, fold it in half to form a ball (not a pretty ball, just ball-ish in shape).

Now start wrapping yarn around, turning as needed, until your ball is 20-30% larger than you want it to be.

Here comes the time consuming part. Now that you have the ball formed you'll dip it in the soapy water. Next you need to gently move it from one hand to the other. Again, and again, and again. Dip in the water as needed to keep it moistened; water and friction are needed for felting to occur and the soap helps friction to happen. You'll notice the surface of the ball start to change after a couple minutes. The strand of yarn will start to grip the strands around it. Now you can start using more pressure and rubbing it between your palms in a circular motion. When it's done felting it should look and feel like a solid ball. The individual strands will have blended together and condensed.
Here my youngest is wearing a necklace that I made out of small felt balls. He's teething so it's great for him to chew on.

The boys love playing with the large (7-8cm) wool balls. I wonder why we spend money on fancy toys when their favorites are simple things like boxes, sticks, and these wool balls.

My husband and I have thought about trying dryer balls.. but living in a very dry climate static is a real issue.. even in summer.. have you noticed.. weather you have an issue with static cling now that you have changed over??
ReplyDelete