
Frills and Femme Scarf pattern

I will have some better photos up this week :)

How on earth do you make these cute scarfs from Redheart's Sashay yarn?? I've been told you can only KNIT them.... HA HA HA Not that I am anti Kniting, I teach a knitting class everyonce in a while ( When I have to!) but I have more hours invested in crochet so I like to stick with crochet, then looming, then knitting. So I haven't taken photos yet so bare with me they will be up sometime this week.

First what supplies do you need?
1 ball of Sashay yarn ( only 4.99 at Michael's and you can use a coupon).... though some on my students like a longer and or fuller scarf then you need about 1.5 balls.

A size I crochet hook... though I have made them with a J, H or G , I think it looks best with the "I"
though.

Okay that's ALL we need to make these wonderful scarfs!!

Oh and I wrote this pattern I teach that can be taken by people who have NEVER crocheted before, this pattern is easy!!

To start you DON'T make a Slip Knot. First you unwrap the yarn and spread apart the mesh for about 6 or so inches. Always try to keep this much spread out because it's the easiest way to work with it. Now there are 2 different sides to this mesh yarn, you want to insert your hook into the side that dose not have the sparkle/ shimmer trim. Now there is no right way to insert your hook. just stick it in in one of the top holes and chain.

To explain further stick the hook in, the skip 2-4 holes and stick your hook in and pull the 2 hole through the first one. Skipping different amounts of spaces adds to the ruffle appearance.


Chain until you have the length you want it to be, it will be thin and not full but don't worry this scarf is not worked side to side but length wise.

Next turn and Sc into each of your chain stitches again skipping 2-4 holes
This is what it looks like with just a chain. I think it would make a pretty trim this way.


Some people and teens or childern like the thickness of 2, I like to use the whole ball and go one more time

Next Turn and HDC in each Sc.
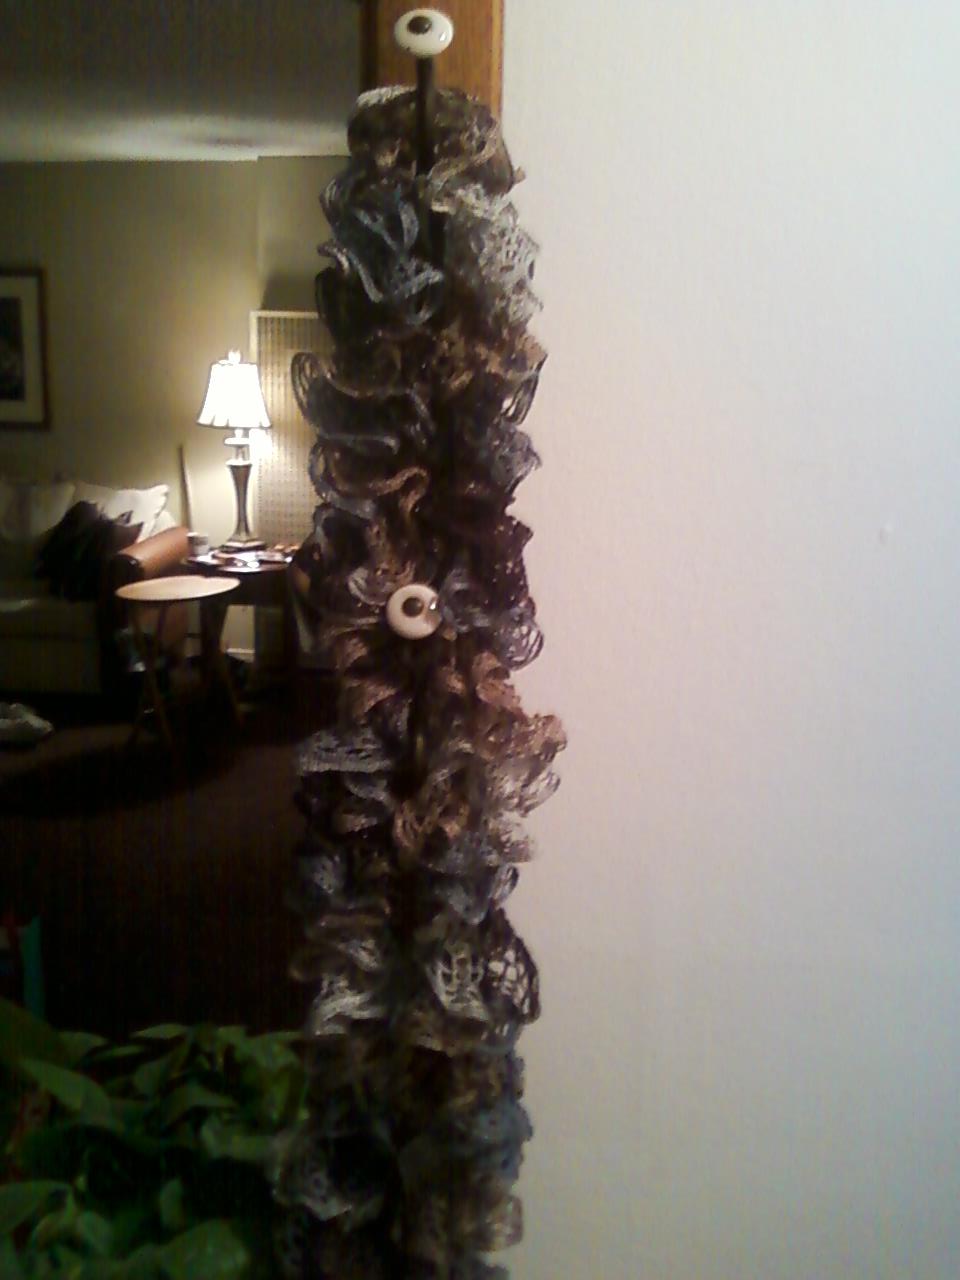
This is what it looks like after the HDC!


At the end trim and an angle inward and slip stitch in so the tail is hidden.


Here is a video of how to crochet a different scarf with netted yarn

This Pattern is on AFC!!!

100"s of free patterns at AFC

Comments

  1. I wondered if you could crochet with this yarn ... I'm a tad confused as to what you did. Close up photos would help me visualise this :)

    ReplyDelete
  2. Check out my How to Video http://www.youtube.com/watch?v=J4mKZpH8BKo This is for a similar scarf using Starbella yarn. But you can see a close up of where I am crocheting. After the chain is long enough you turn and sc into the top two loops of your chain and repeat for the third row. Does that make more sense?

    ReplyDelete
  3. Did you ever write a pattern for the super cute grey beanie at the top? I love it!!

    ReplyDelete
  4. Do you use a different yarn for the sc and the hdc?

    ReplyDelete

Post a Comment

Popular posts from this blog

Cross Bangle

I wanted to crochet a sideways cross bracelet for some time now but it wasn't until I received this lovely STARDUST( by Red Heart yarn ) that I actually sat down to make it!  This project will fly by you will want to make one for everyone at church :) Stardust - any color you like I used #1303 Brown * this requires very little yarn, so make a lot!* E crochet hook Skill - Advanced Beginner (* HINT this is basically a vertical row or a shell*) First stitch*** Ch3, hdc 3rd ch from hook, ch1, 2 hdc ( all in the same space) Every other one*** *turn, slip stitch until you and in the ch1 space, ch2,1hdc,ch1,2hdc* repeat until you have the length desired, * it should stretch slightly to slide on and off your wrist.. ** suggested lengths _ Woman's s/m ~18 shells l/xl ~20 shells Mans~ 23 shells child~ 11-15 ( 11 fits most five year olds) sew the 2 ends together and weave in your tail at least 4 inches worth so it will not come undone. ***Add the cross part***

Thread Cross Bookmark

I used Aunt Lydia's Crochet thread and a size D hook. Make a magic circle Round 1 Ch3, 2dc, ch2, 3dc, ch2, 3dc, ch2, 3dc, ch2 and join. Sides and top of cross Ch3 2dc, ch2, dc3 in any ch2 sp. Turn and *sl to ch2, ch3,2dc, ch2,3dc. *Turn and repeat * repeat everything in this step 3 more times. Cut thread and weave in ends at the ends of the sides. Bottom of the cross When you get to the last side repeat the * section 2 more times for a total of 4 shells for the bottom and 2 shells for the sides not including the center. On the top of the cross attach yarn and chain 26, skip the first 5 and sl to the first chain. Then I added a tassel. If thread isn't your thing check out this great bookmark Stitch 11 made from my Cross Bangle pattern! Check out the Stitch 11 post here

Easy simple no shaping stocking ornament

Step 1 This is the star stitch but you can make these any size and any stitch just make it in this shape. The above sample has 19 star stiches on the bottom ( 2 rows plus beginning hdc row)and reduces to 10 star stiches ( 3 rows) step 2 turn so the right sides are facing each other, and sew them together like the above picture,. isdsjfklajlkdsjc step three turn right side out! attach a chain 5 if desires so you can hang it. I am making about 30 of these for my 6 year old to hand out as Christmas gifts at school with mini candy canes in them! Below is a crochet chart for a basic hdc stocking but you can use any stitch. * turn at the end of every row,  * ch1 and hdc in the first stitch of every row Row 1 ( starts from the bottom up) chain 38 Row 2 38 hdc Row3-6 repeat row 2 Row 7 starting 11 stitches over ( you can do this my sl or if you alternate colors just attach the yarn on the 11th stitch) hdc in the next 18 stitch  Row 8 until- (desires length i